
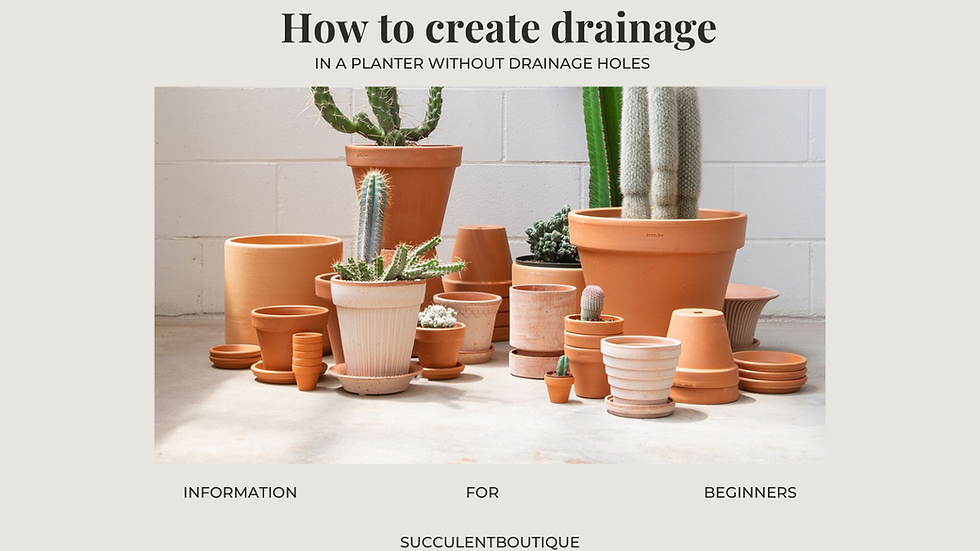
How to create drainage in a planter without drainage holes
- Succulent Boutique

- Jul 17, 2024
- 2 min read
Updated: Feb 28, 2025
The most beautiful planters almost never have drainage holes. Which for succulent parents can be a nuisance. We'd love to have aesthetically pleasing planters without killing our plants with root rot due to poor drainage. So, how do we get to have nice planters without root rot? Here a few methods you can try:
First method:
Create a layer of rocks at the bottom of the planter and then pour your soil on top. This creates an area for excess water to sit. Be careful with this method because with the water sitting at the bottom of the planter the soil may stay wet or moist for longer periods of time. This method is best for terracotta planters as they are made of a porous clay which allows water to evaporate faster. For non-terrracotta planters after about an hour, post watering, tilt the plant sideways, carefully, to pour out any excess water. If you create a hole with a chopstick it may make it easier for the water to run out.
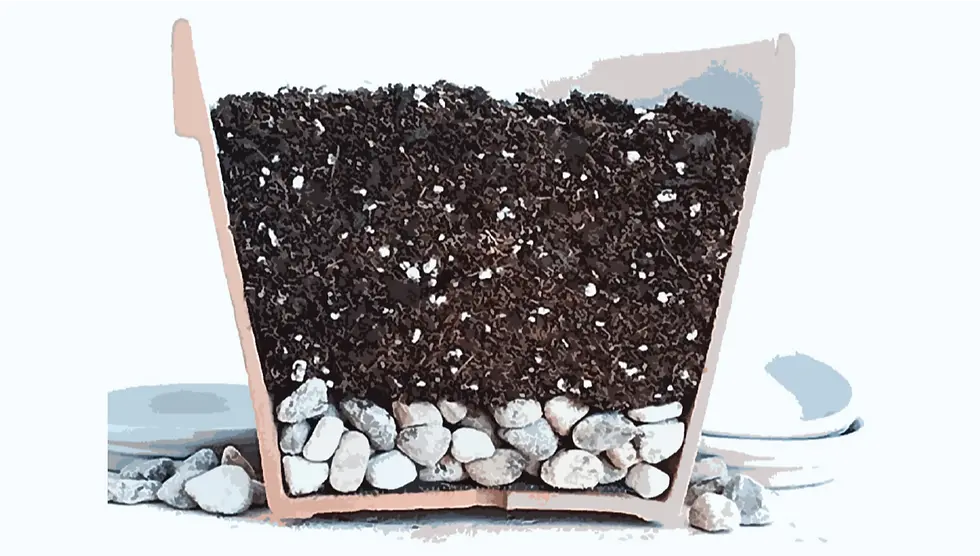
Image from https://2fast4buds.com/news/drainage-for-cannabis-plants-why-is-it-important-and-how-to-improve-it
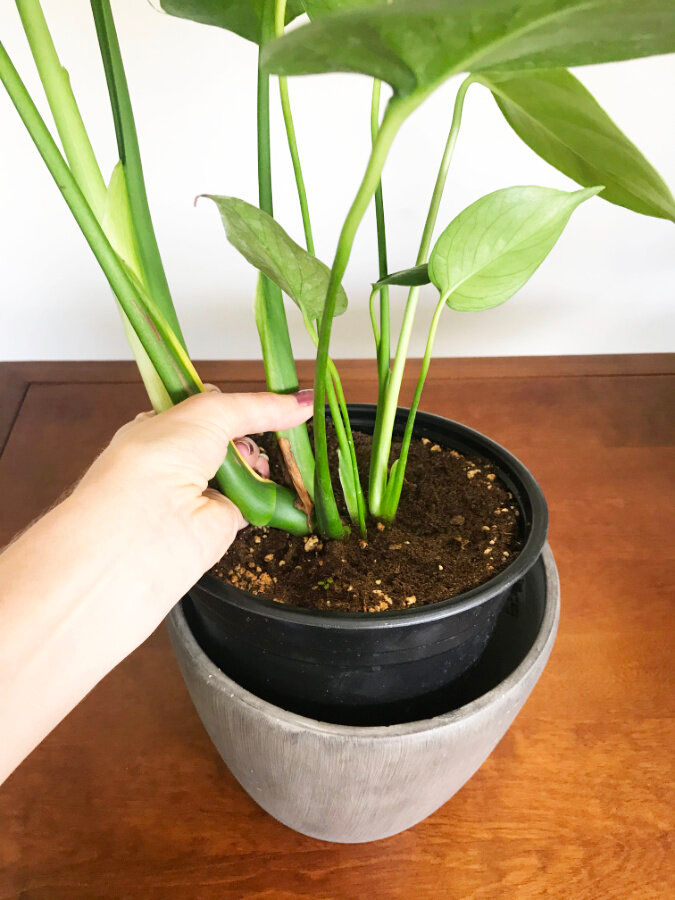
Second method:
Buy a nursery pot that will fit inside the planter you want. Nursery pots are typically plastic pots with a lot of drainage holes. This will make watering easy. When you want to water your plant simply take the plant, still in the nursery pot, out of the nice planter. Water the plant and give it enough time to drain, then place back into the nice planter. If you don't mind the process, then this is an easier and safer method.
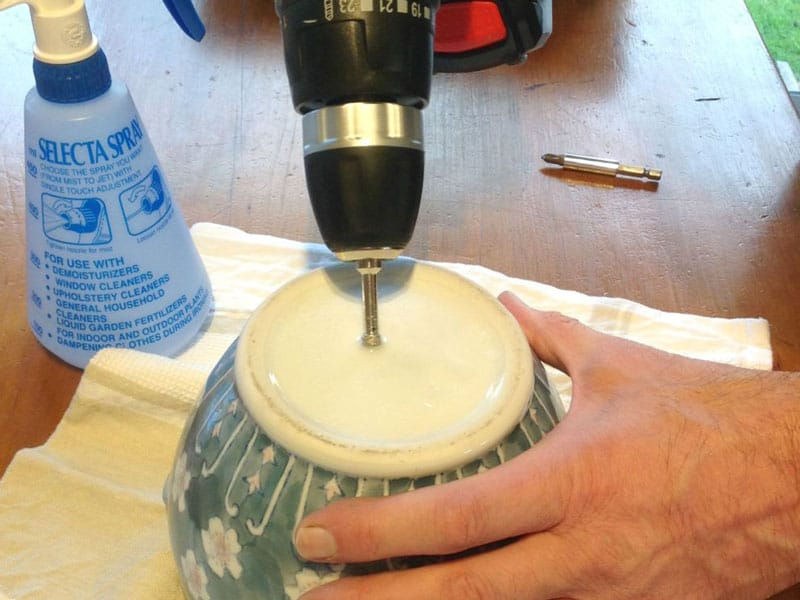
Third method:
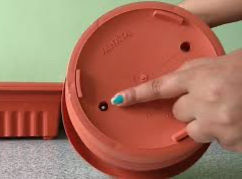
If you have, or are willing to buy, a diamond drill bit you can create your own drainage in ceramic pots. if you have a plastic planter, then you can use a soldering iron. Be careful to not breathe in the particles or the fumes.
The Diamon drill bit method:
Turn the planter upside down.
Pour a small amount of water to create a little layer.
Place the drill bit on the planter where you want the hole and start drilling at an angle.
Slowly straighten your angle as the drill bit starts to dig into the planter.
Repeat to create as many holes as you would like. Be mindful of the space between the holes so that the planter does not crack. One hole in the center is usually enough unless it is a very large planter.
The soldering iron method:
Be sure to do this outside or somewhere with a lot of ventilation. Do not inhale the fumes.
Heat up your soldering iron.
Place the tip of the soldering iron where you want to create the hole and it should slowly start to melt a hole into the plastic.
Move the iron in a circular motion to make the hole as big as you prefer.
Repeat to create as many holes as you would like.
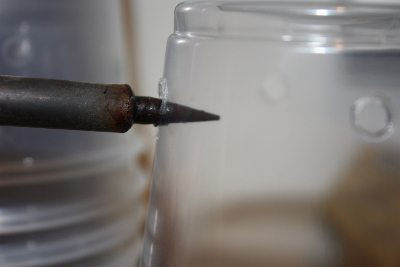
Images from https://gardenculturemagazine.com/a-hot-tip-for-gardening-with-thermoplastics-get-a-soldering-iron/ and https://images.app.goo.gl/dEjsbzwumSitzq9g7
If you enjoyed this post and it was helpful, please subscribe to receive notifications and updates! Just scroll to the bottom of the page where it says "subscribe here," type in your email, and submit!


Comments